
Finished Measurements:
Pattern is written for women’s size 8 (US)
Materials:
Size 1 double pointed needles
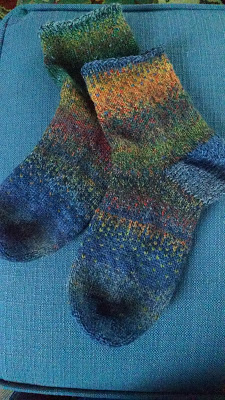
1 skein Patons Kroy Socks FX in Cadet Colors (MC)
1 skein Patons Kroy Socks FX in Clover Colors (CC)
Yarn Substitute: Stroll
This post contains affiliate links. If you do decide to purchase though the links in this post, a small portion of the sale may go to support this site, at no additional cost to you.
Abbreviations:
K – knit
P – purl
Sl – slip unworked stitch from left needle to right needle
SSK – slip unworked stitch from left needle to right needle knitwise. Slip a second unworked stitch from the left needle to the right needle knitwise. Slip those two unworked stitches separately back to the left needle purlwise. Knit those two stitches together in the back of the stitches (decrease).
K2tog – knit two stitches together (decrease).
P2tog – purl two stitches together (decrease).
Inc – knit into the front and back of the same stitch (increase).
Instructions:
Toe Shaping
Using provisional cast on method and MC, cast on 12 stitches
Round 1: P across
Round 2: K across
Round 3: P across
Round 4: K across
Remove live stitches from scrap yarn and place them on a double pointed needle. You should have 24 sts on two needles (12 sts per needle). Begin knitting in the round.
Round 5: *K2, Inc, K1 (add a needle) K1, Inc, K2.* Repeat from * to *
Round 6: Needle 1 – K2, Inc, K across needle
Needle 2 – K across needle to last 3 sts, Inc, K2
Needle 3 – K2, Inc, K across needle
Needle 4 – K across needle to last 3 sts, Inc, K2
Repeat Round 6 until you have 40 sts total (10 sts per needle)
Round 7: K across
Round 8: Needle 1 – K2, Inc, K across needle
Needle 2 – K across needle to last 3 sts, Inc, K2
Needle 3 – K2, Inc, K across needle
Needle 4 – K across needle to last 3 sts, Inc, K2
Repeat Round 7 and Round 8 until you have 64 sts total (16 sts per needle)
Foot:
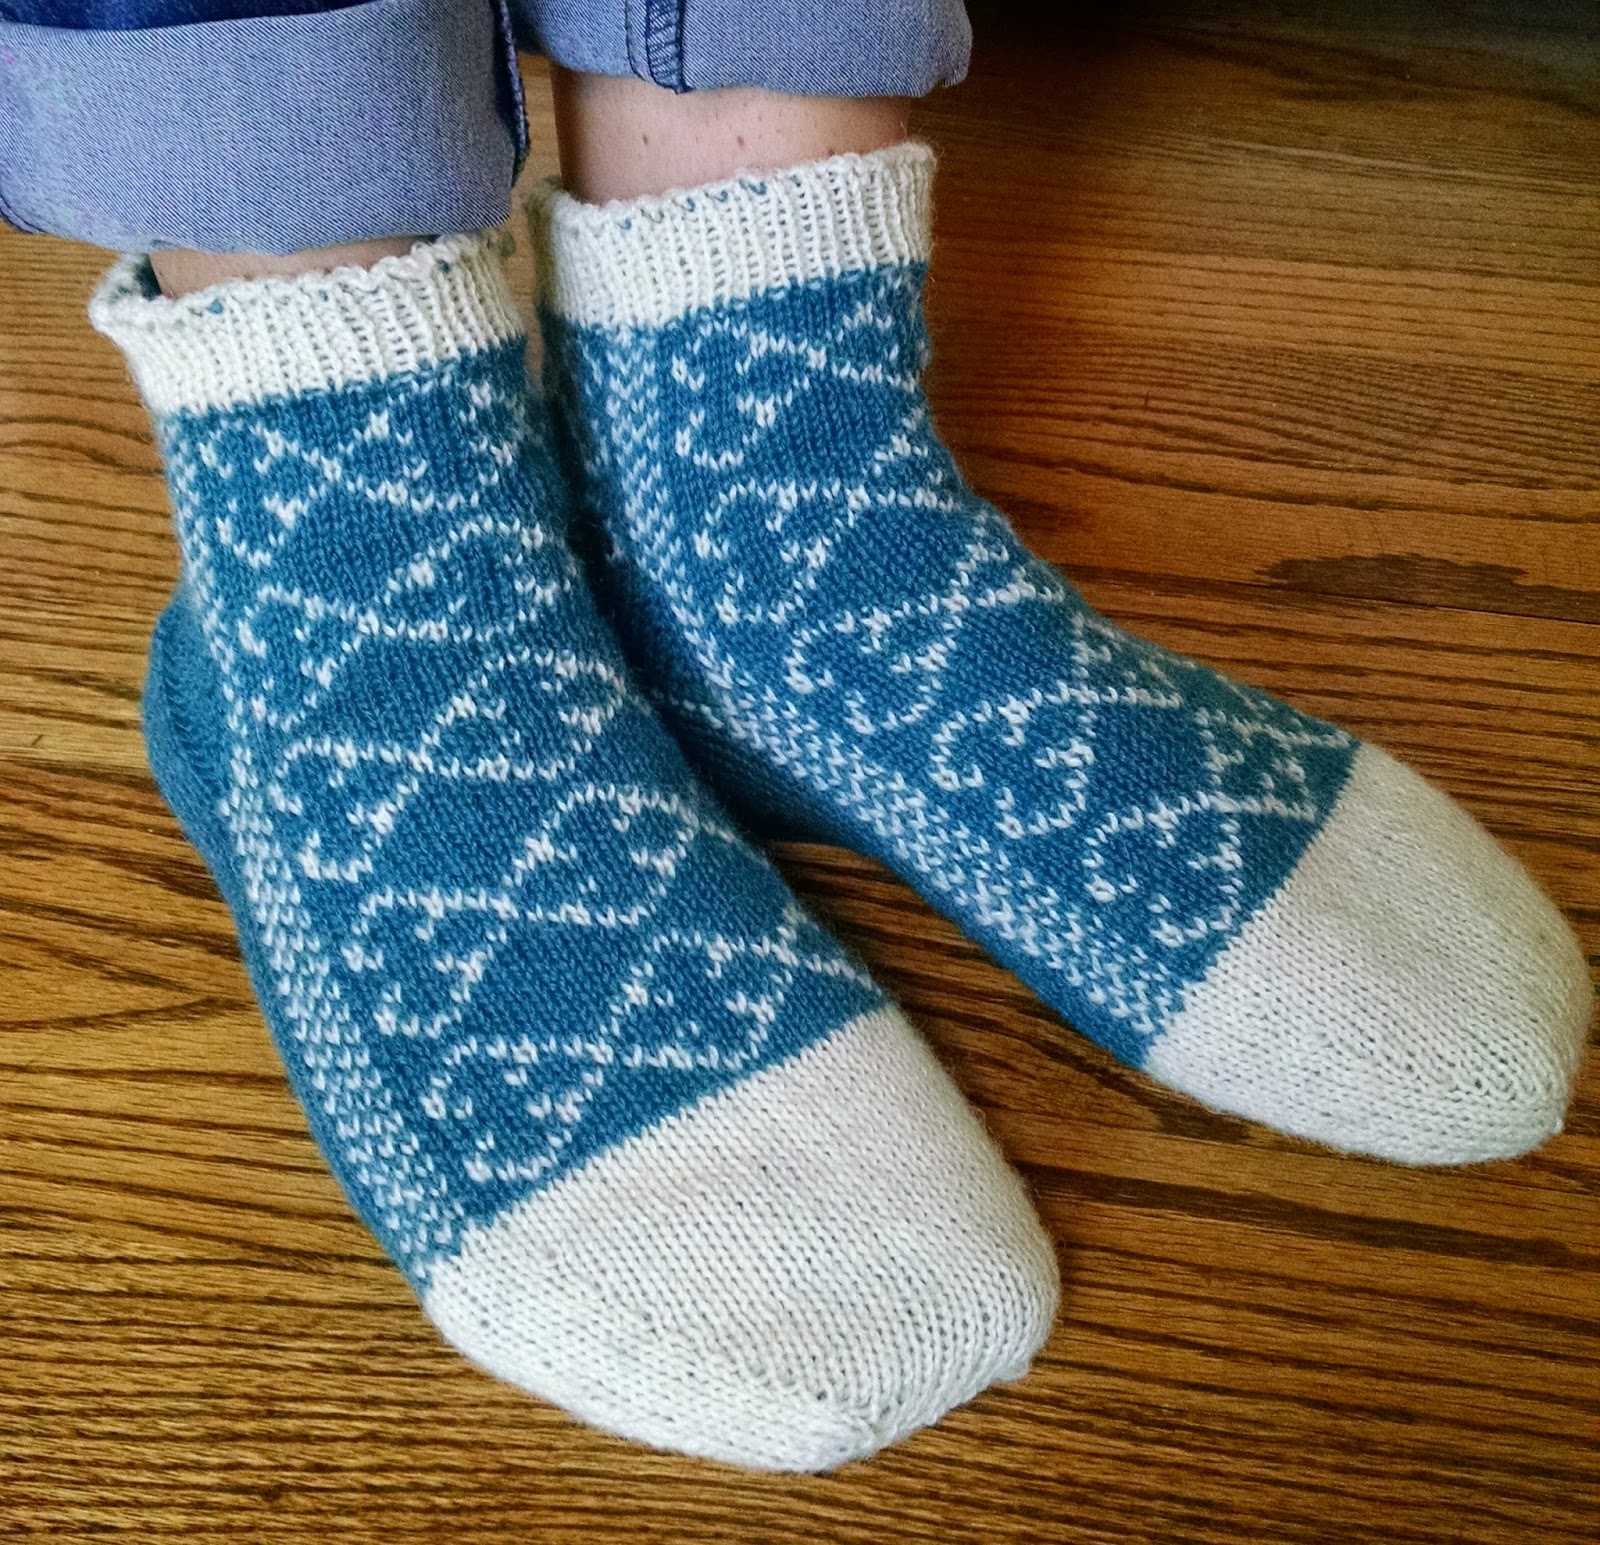
For all foot rounds, work the Stardust Pattern below. The MC appears in white on the chart and the CC appears in black. Work until the sock is the length from the toe to the bend of your ankle at the top of your foot.

Heel Flap:
Row 7: Sl1, P6, P2tog, P1, turn.
Row 8: Sl1, K7, K2tog, K1, turn.
Row 9: Sl1, P8, P2tog, P1, turn.
Row 10: Sl1, K9, K2tog, K1, turn.
Row 11: Sl1, P10, P2tog, P1, turn.
Row 12: Sl1, K11, K2tog, K1, turn.
Row 13: Sl1, P12, P2tog, P1, turn.
Row 14: Sl1, K13, K2tog, K1, turn.
Row 15: Sl1, P14, P2tog, P1, turn.
Round 9: K across Needle 3; K across Needle 4 and pick up and K 10 sts along heel flap edge on same Needle 4; K across Needles 1 & 2 in Stardust Pattern; pick up and K 10 sts along the other heel flap edge with Needle 3 and K remaining sts on Needle 3. (69 sts total). The spot between Needle 3 and Needle 4 will be the new starting point and Needle 4 now becomes Needle 1 and so on for the rest of the pattern.
Round 10: Needle 1 – K across until last 3 sts, K2tog, K1.
Repeat Round 10 and Round 11 until there are 64 sts total (16 sts per needle). Note: Needle 4 has one more stitch on it than Needle 1, so on the last decrease row, decrease only on Needle 4.
Ribbing:
Using MC only, Work K1, P1 for five rows.
Cast off.

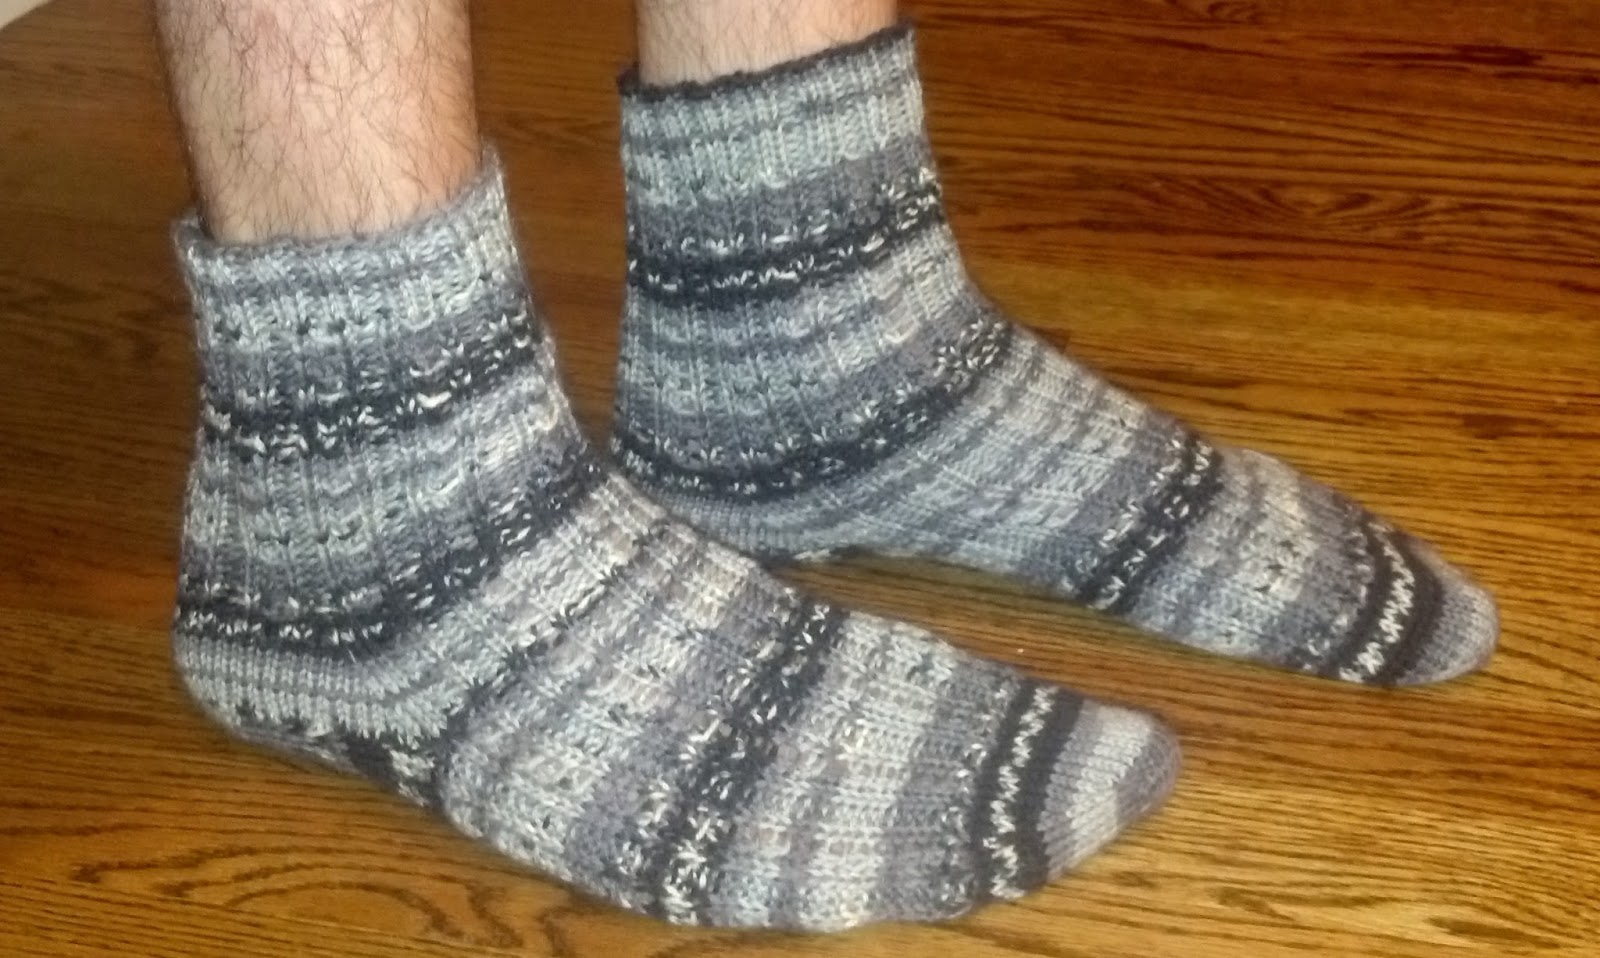
Stardust Pattern:
Here is what the pattern looks like in its entirety from far away:

It’s not only great for socks, but would be wonderful with a scarf or even a sweater. I realize it’s difficult to actually read the chart above, so I have separated it out into five different sections for ease of viewing and printing: