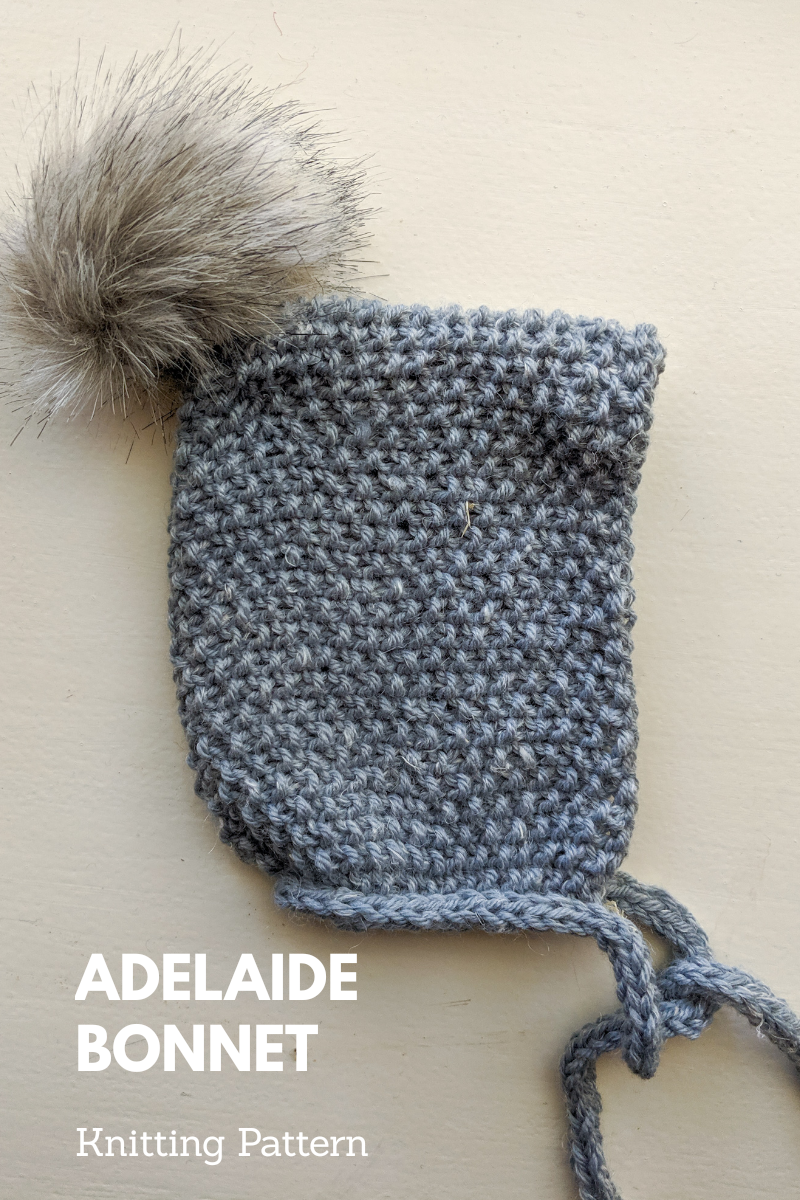
A vintage-inspired baby bonnet
ABOUT
Skill Level:
Intermediate
Pattern Notes:
This bonnet is made in one piece with the back edge sewn together at the end.
An I-cord drawstring is attached at the end to help the bonnet frame the face.
Stitches that appear between * and * should be worked until the end, unless otherwise indicated.
COMPONENTS
Materials:
60-65 yards of Yarn Bee Rustic Romantic in Blueberry Bushel
Size 8 double pointed needles
Tapestry needle
Your favorite faux fur pompom
Size:
0-3 months
Finished Measurements:
7 inches tall x 10 inches around (measuring from left cheek to right cheek)
Gauge:
16 sts x 26 rows = 4 inches
STITCH ABBREVIATIONS
CO – cast on
K – knit
P – purl
Sl – slip
St(s) – stitch(es)
BO – bind off
Ssk – slip stitch from left needle to right needle knitwise. Slip a second stitch from the left needle to the right needle knitwise. Slip those two unworked stitches separately back to the left needle purlwise. Knit those two stitches together in the back of the stitches
INSTRUCTIONS
Bonnet:
Loosely CO 51 sts
Rows 1-30: Sl 1 purlwise, *P1, K1*
Using the Icelandic Bind Offmethod, BO using K across. This forms the bonnet edge that frames the face.
Fold the piece in half and sew the CO edge to the other CO edge together using a tapestry needle.
I-Cord:
CO 3
Work the I-cord for approximately 30 rows, or until it measures 7 inches.
Here is a link to a helpful video that demonstrates how to attach the I-cord edging. Work 2 sts of I-cord until only one stitch remains. Slip the last stitch knitwise. With your right needle and the right side of the bonnet facing you, pick up the right side edge of the first slipped stitch of the bonnet. Pick up the stitch by inserting your needle from top to bottom. Knit the last two sts together as if working a ssk.
Continue attaching the I-cord in this manner along the entire bottom edge of the bonnet. When you have finished attaching the I-cord along the entire bottom edge, work the I-cord for approximately 30 rows, or until it measures 7 inches.
Pompom:
Find the point of the bonnet at the back of the head and attach your favorite faux fur pompom.
THANK YOU!
I hope you enjoyed making the Adelaide Bonnet as much as I did! Tag me on Instagram @knitabitcrochetaway and use #knitabitcrochetaway and #AdelaideBonnet– I’d love to see your progress and finished product!