Posted on

Pattern: Sadie Bonnet

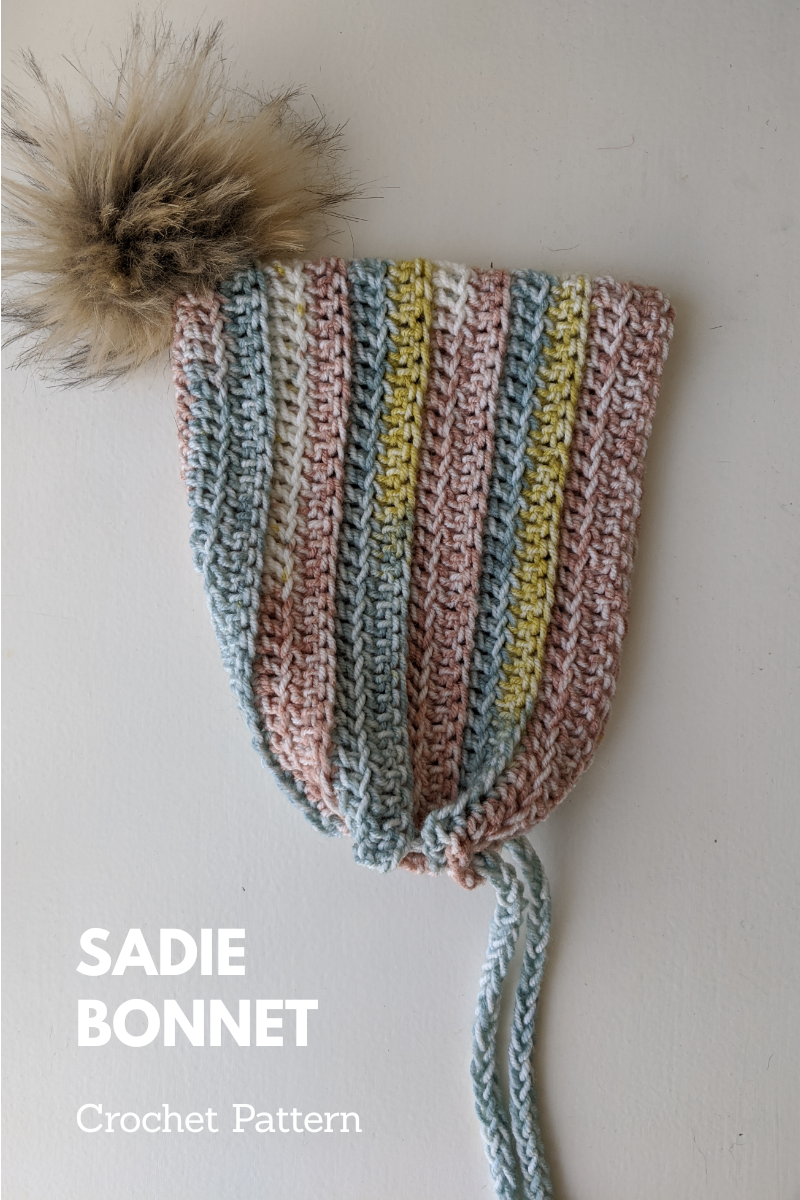
A simple crochet bonnet with easy drawstring


Find a printer-friendly, PDF version of Sadie Bonnet below!
 

ABOUT

Skill Level:

Beginner

Pattern Notes:

This bonnet is made in one piece with the back edge sewn together at the end.

A drawstring pulls the base of the bonnet to frame the face

COMPONENTS

Materials:

Size I crochet hook

1 skein I Love This Yarn! or 125 (150, 175) yards of worsted weight yarn

Tapestry needle

Pompom (optional)

Size:

Small (Medium, Large)

3-6 months (6-12 months, 12-24 months)

Finished Measurements:

6.5 inches tall, 5.25 inches deep (7.5 inches tall, 6 inches deep; 8.5 inches tall, 7 inches deep)

Gauge:

14 sts x 7.5 rows = 4 inches

STITCH ABBREVIATIONS

Ch – chain

DC – double crochet

INSTRUCTIONS

Bonnet:

Ch 49 (57, 65)

Row 1: 1 DC in 4thch from hook and each ch across, turn.

Row 2: Ch 3, 1 DC in front loops only in each DC across, turn.

Row 3: Ch 3, 1 DC in back loops only in each DC across, turn.

Repeat Rows 2-3 three (four, five) more times.

For Size Large ONLY, Repeat Row 2.

Cut yarn.

With the wrong sides facing, fold in half and sew the ch row together using the tapestry needle.

Drawstring:

Crochet an I-cord until your string measures 25 (30, 35) inches. Here is a linkto great instructions on how to crochet an I-cord.

Weave your drawstring in an out of each space between the first and second DC of each row along the bottom edge of the bonnet.

Pompom: (Optional)

With your favorite faux fur or yarn pompom, attach it to the top corner of the bonnet, with the majority of the pompom resting on top of the corner, rather than the bottom of the corner where you sewed the ch row together up the back of the bonnet. This ensures it won’t flop around too much when worn.

THANK YOU!

I hope you enjoyed making the Sadie Bonnet as much as I did! Tag me on Instagram @knitabitcrochetaway and use #knitabitcrochetaway and #SadieBonnet – I’d love to see your progress and finished product!

Posted on

Pattern: Adelaide Bonnet

A vintage-inspired baby bonnet


Find a printer-friendly, PDF version of Adelaide Bonnet below!
 

ABOUT

Skill Level:

Intermediate

Pattern Notes:

This bonnet is made in one piece with the back edge sewn together at the end.

An I-cord drawstring is attached at the end to help the bonnet frame the face.

Stitches that appear between * and * should be worked until the end, unless otherwise indicated.

COMPONENTS

Materials:

60-65 yards of Yarn Bee Rustic Romantic in Blueberry Bushel

Size 8 double pointed needles

Tapestry needle

Your favorite faux fur pompom

Size:

0-3 months

Finished Measurements:

7 inches tall x 10 inches around (measuring from left cheek to right cheek)

 Gauge:

16 sts x 26 rows = 4 inches

STITCH ABBREVIATIONS

CO – cast on

K – knit

P – purl

Sl – slip

St(s) – stitch(es)

BO – bind off

Ssk – slip stitch from left needle to right needle knitwise. Slip a second stitch from the left needle to the right needle knitwise. Slip those two unworked stitches separately back to the left needle purlwise. Knit those two stitches together in the back of the stitches

INSTRUCTIONS

Bonnet:

Loosely CO 51 sts

Rows 1-30: Sl 1 purlwise, *P1, K1*

Using the Icelandic Bind Offmethod, BO using K across. This forms the bonnet edge that frames the face.

Fold the piece in half and sew the CO edge to the other CO edge together using a tapestry needle.

I-Cord:

CO 3

Work the I-cord for approximately 30 rows, or until it measures 7 inches.

Here is a link to a helpful video that demonstrates how to attach the I-cord edging. Work 2 sts of I-cord until only one stitch remains. Slip the last stitch knitwise. With your right needle and the right side of the bonnet facing you, pick up the right side edge of the first slipped stitch of the bonnet. Pick up the stitch by inserting your needle from top to bottom. Knit the last two sts together as if working a ssk.

Continue attaching the I-cord in this manner along the entire bottom edge of the bonnet. When you have finished attaching the I-cord along the entire bottom edge, work the I-cord for approximately 30 rows, or until it measures 7 inches.

Pompom:

Find the point of the bonnet at the back of the head and attach your favorite faux fur pompom.

THANK YOU!

I hope you enjoyed making the Adelaide Bonnet as much as I did! Tag me on Instagram @knitabitcrochetaway and use #knitabitcrochetaway and #AdelaideBonnet– I’d love to see your progress and finished product!